As a self-proclaimed “bird and babies” photographer, I was always interested in figuring out how reproduce that crystal clear eye popping color that I saw in many of the bird and wildlife images on the web. You know that kind of color that makes you do a double take on the image as your jaw drops.
One of the several blogs, I follow on a daily basis is Digital Photography School blog. Recently, a post Turn Ho-Hum Color into WOW! with Photoshop by guest blogger Helen Bradley caught my eye and introduced me to Photoshop’s Lab color.
I created two Photoshop CS4 actions based on her posting:
- One with 2 squares curves “a” and “b” channel adjustment
- Another one with 3 squares curves “a” and “b” channel adjustment
In essence, these actions performed the following steps:
- Duplicate the Background photo layer(ctrl+J)
- Select the new layer
- Change the mode to Lab Color (Image > Mode > Lab Color)
- Do not flatten image at this stage.
- Open curves (Image > Adjustment > Curves)
- Adjust the top and bottom points for the “a” and “b” channels as mentioned above.
- Click “Ok”
- Change the mode back to RGB(Image > Mode> RGB) without flattening the image.
- Adjust the opacity and blend mode of the layer to suit the image.
- Optionally, the flatten the image. (Layer > Flatten the image).
Here are couple of examples:
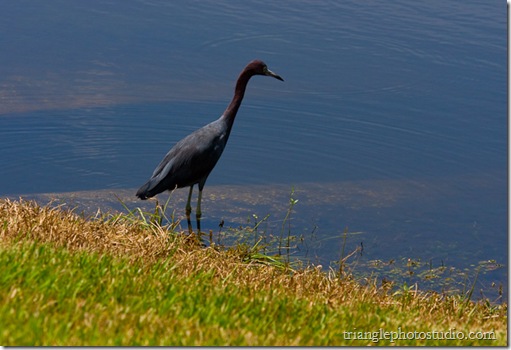
Original with standard processing in Adobe Lightroom 2.2:
After the “2 box” Lab Color Photoshop action:
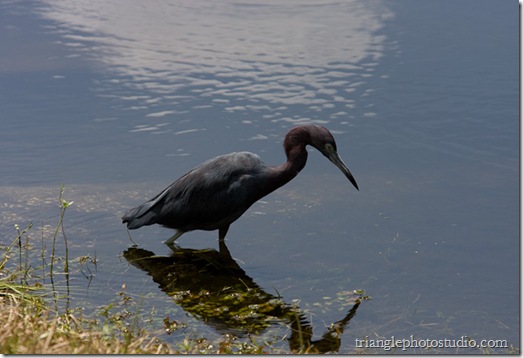
Original with standard processing in Adobe Lightroom 2.2:
After the “3 box” Lab Color Photoshop action:
I know this just scratches the surface of Lab Colors potential. Enjoy and experiment as I will be doing !


No comments:
Post a Comment